Master Your Bike Fit
Achieving comfort and power doesn't require a studio. Follow this guide to get professional results at home.
1. Setup Your Station
Place your bike on a stationary trainer. Ensure you have good lighting and a clear background. Position your camera (phone or webcam) strictly from the side (90° angle), level with your torso/hips.
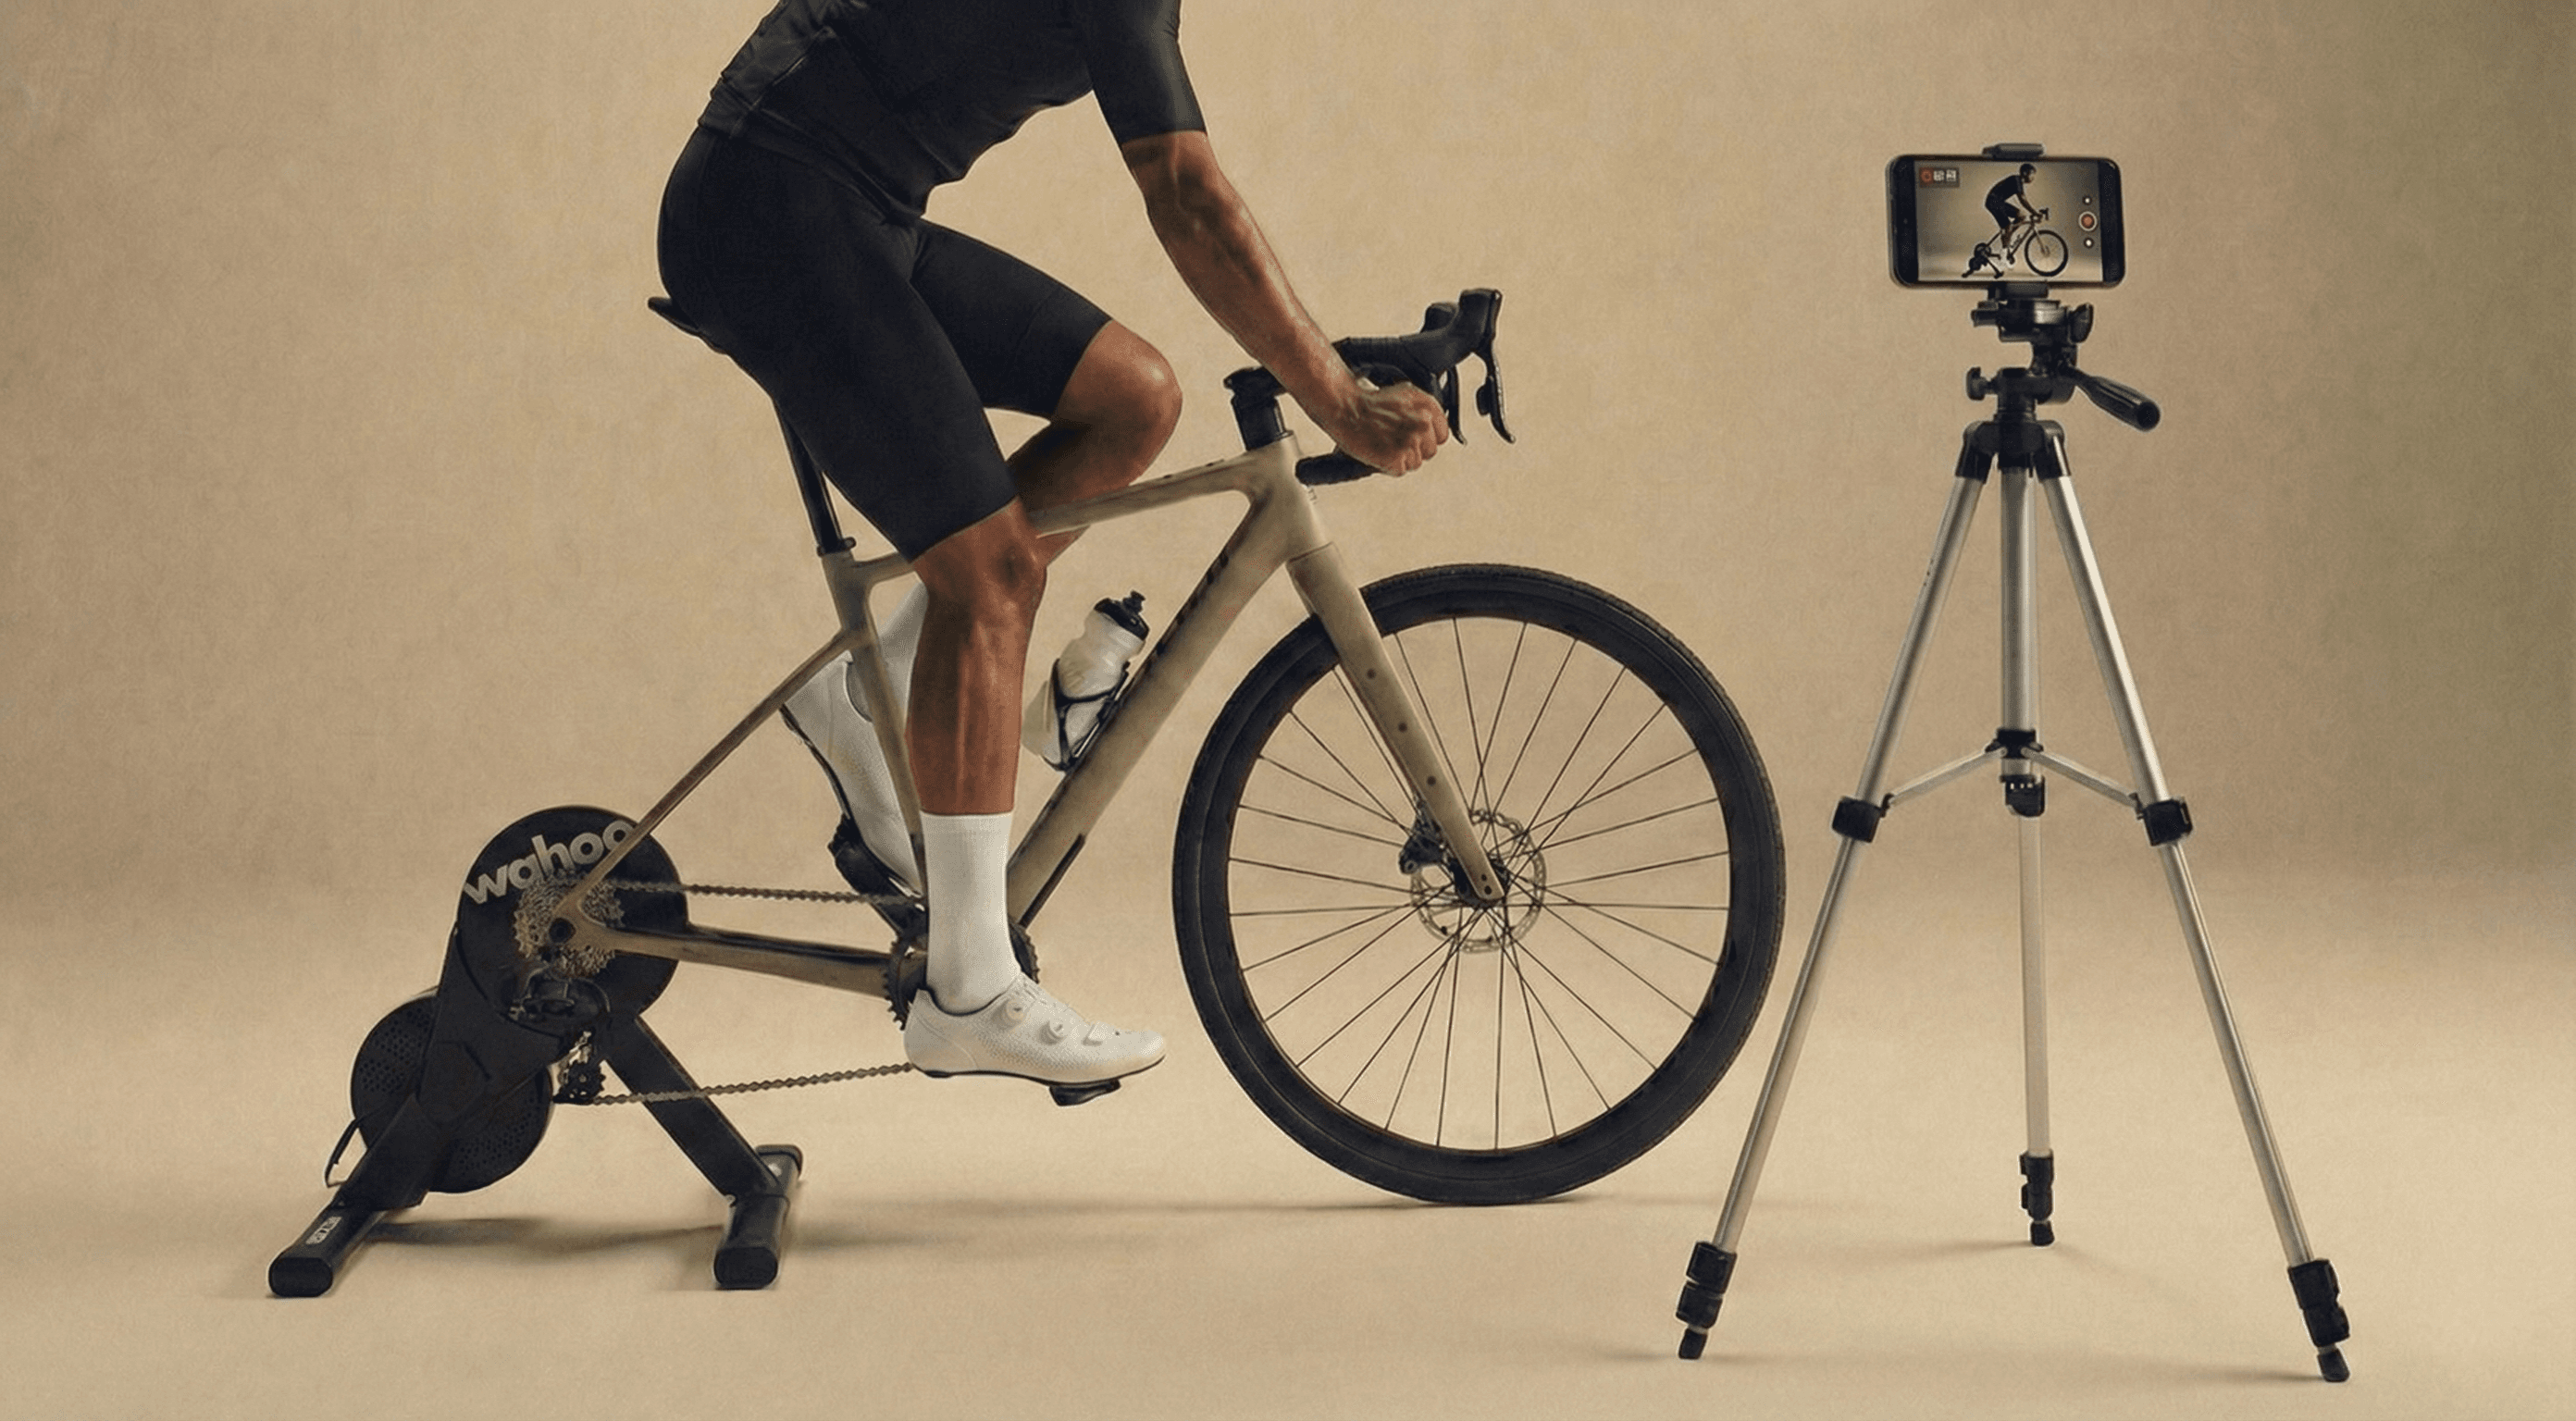
2. Record Your Movement
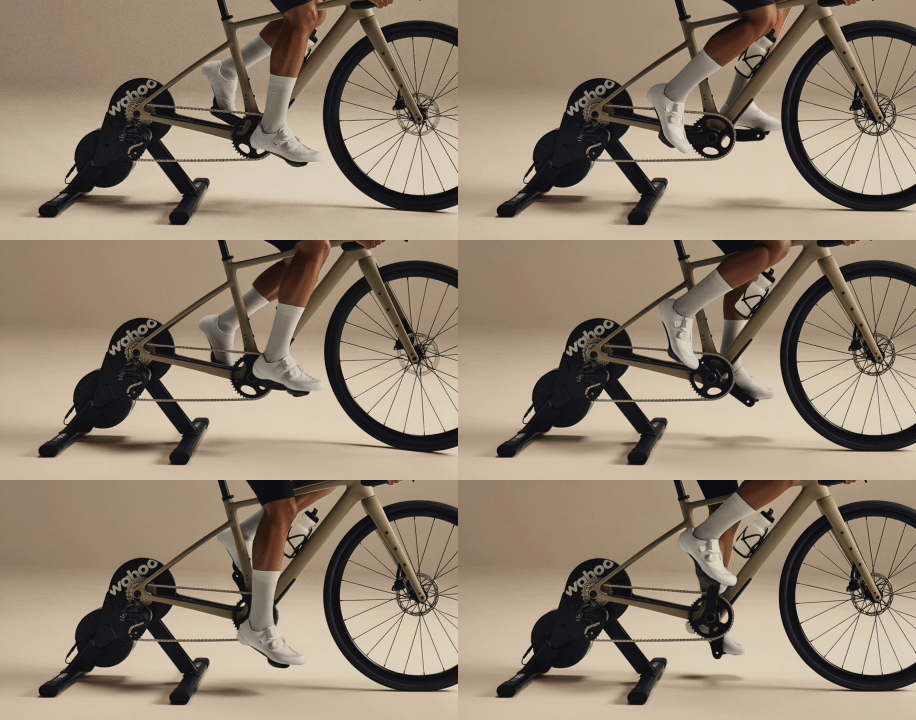
Wear tight-fitting clothing (cycling kit is best) so our AI can see your joints clearly. Record 30–90 seconds of steady pedaling at a relaxed 60–70 RPM. Longer videos produce more accurate measurements, and a calm cadence with a higher frame rate (60 fps) helps our AI track your joints precisely.
3. Upload to Platform
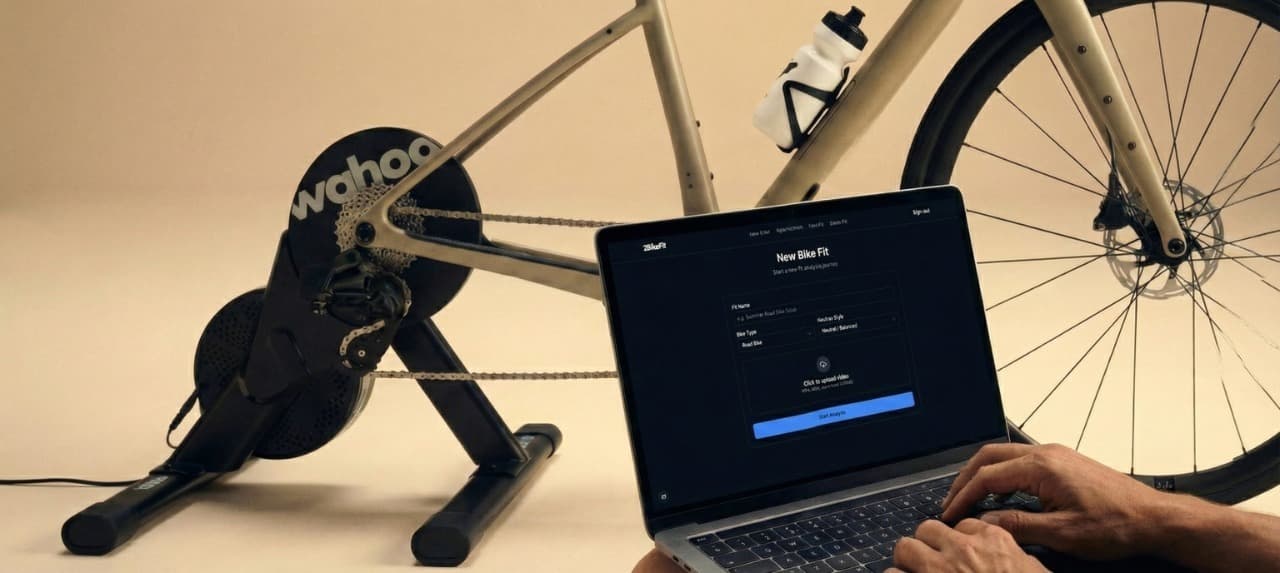
Log in to 2BikeFit and use the simple drag-and-drop interface to upload your video file. We support most common video formats.
4. AI Analysis
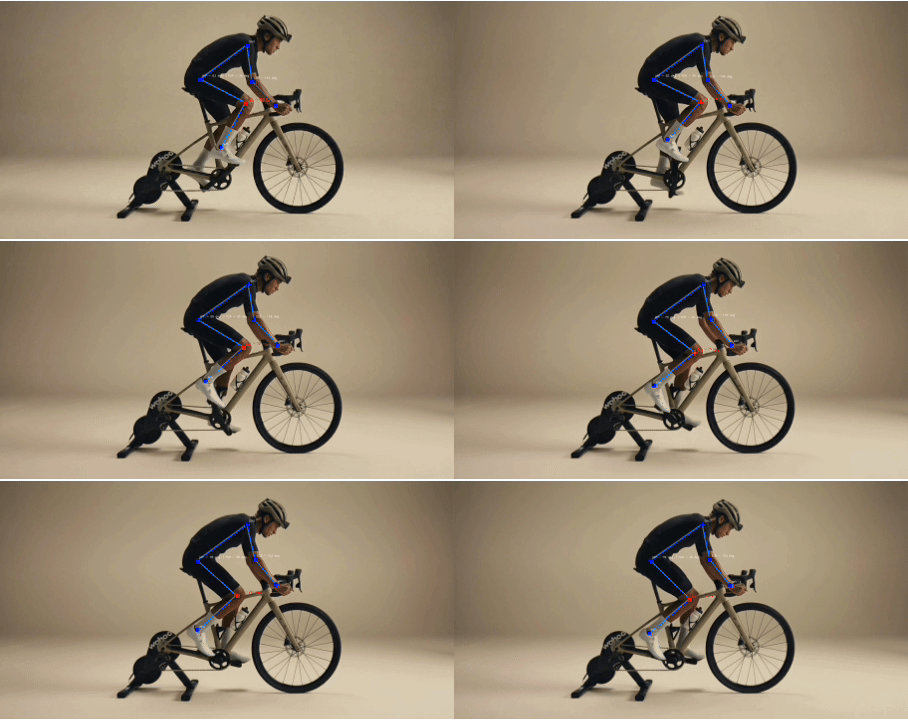
Our computer vision algorithms automatically detect your joints. We calculate dynamic joint angles (knee extension, hip angle, shoulder reach, etc.) in real-time.
5. Adjust & Iterate
Review your personalized report. We prioritize changes (e.g., 'Raise Saddle 5mm'). Make the adjustment, record again, and compare the results to dial in your perfect fit.
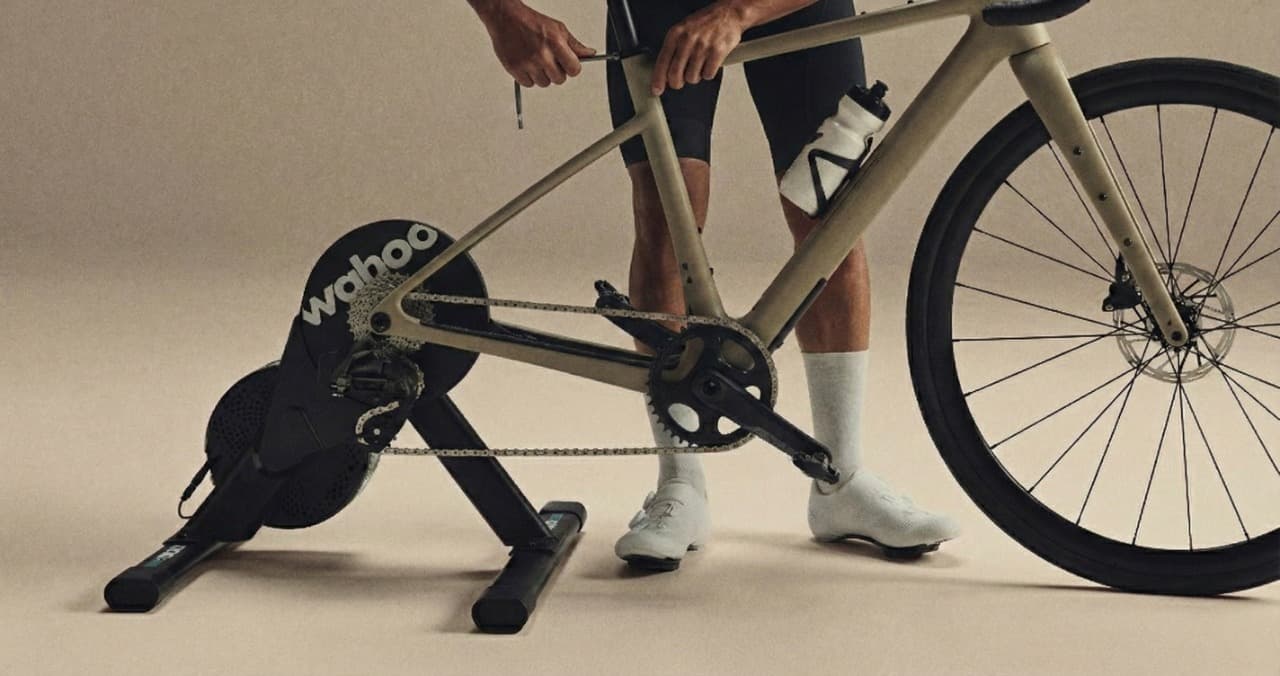
Recording Guidelines
A clean side-view recording helps the analysis track joints consistently. Use these checks before uploading a new fit video.
Camera
- Side-on, square to the bike and centered between the axles, not tilted up or down
- Lens at saddle height, ≥2 m / 6 ft back so your whole body (incl. head) stays in frame
- Standard lens only, no wide-angle/0.5x, no slow-motion; record at 720p or 1080p
- Keep a clear line of sight - no fan, bottle, bag or furniture blocking any part of your body from the camera
Bike
- On a trainer with the axles level (measure ground-to-axle at both wheels)
- Add light trainer resistance so your pedaling stays natural
You
- Warm up 10–15 min before recording
- Snug kit; avoid large black areas and colours that match your background
- Steady 80–90 RPM for 30–90 s; longer is more accurate
- Hands in your all-day position and held still (one position per video)
Scene
- Even lighting from the camera side; no backlight or large windows behind you
- Plain background, a different colour from skin and kit; no people, photos or mirrors